How to Use A GPS Bike Computer
A bike computer is a device installed on a bicycle used to track and record speed, distance, time, and other riding data. The following are the steps for using a bike computer.
Choose the Right Bike Computer
Select a bike computer based on your bicycle type (e.g., mountain bike, road bike, etc.) and your needs (e.g., whether you only need speed functionality or also require features like speed, distance, etc.). Here we'd like to introduce iGPSPORT iGS800 bike computer with touchscreen, colorful display, fast positioning system, accurate navigation capabilities.
Device Buttons
Before you start to use the device, you need to know better of every button in it. Generally, there are power button, turn on/off button, return button, up and down button.
Pairing
A bike GPS computer usually works with the App developed by the device brand company. For the 1st-time pairing, just open the app in your smartphone and login your account. Then place your bike computer nearby your smartphone and enter the homepage in the app to select your device model and connect.
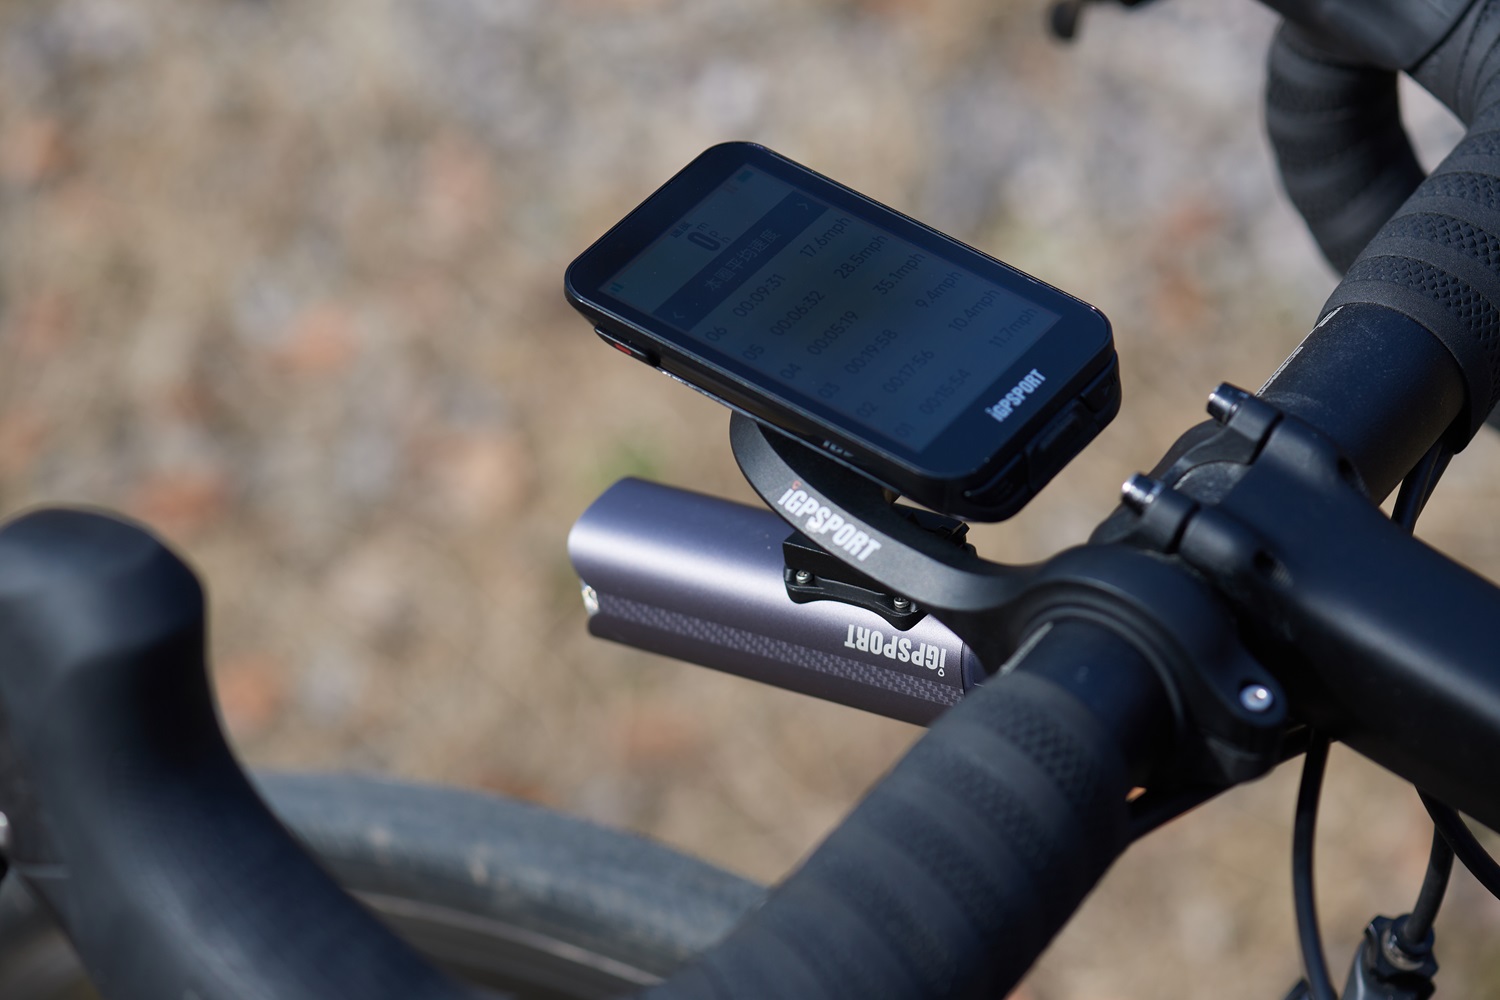
Bike Computer Installation
To install the bicycle computer to your bike, you need some accessories. The bike computer is usually mounted on the bike handlebar, so a mounting adapter is required. Select a appropriate place in the bike handlebar and fix the bike computer mount adapter, then place the bike computer onto the handlebar mount firmly to prevent it from shaking during your ride.
Configure Settings of the Bike Computer
Most bike computers have a button or dial to adjust settings. Rotate the dial or press the button to enable desired functions like speed, distance, ride time, etc. Some bike computers can also connect to a smartphone via Bluetooth, allowing you to set up and view data through a corresponding app.
If you have additional sensors (like a heart rate monitor, speed/cadence sensor, or power meter), pair them via ANT+ or Bluetooth. Follow the instructions on the computer to ensure proper connection.
Before you begin riding, make sure all settings are correctly configured. During the ride, the bike computer will automatically record your speed, distance, ride time, and other information.
Riding Preparation of GPS
Before riding, it require the device detecting the GPS signal. It may take a few minutes. This will ensure that your riding data is accurate.
Users can set different GPS modes according to their own needs in the bike computer menu settings.
If you want to record your riding data, do not forget to press button to start recording your speed, distance, time, heart rate and other data.
During the ride, check the display for real-time data such as speed, distance, time, heart rate, cadence, and more. Customize the display to show the metrics most important to you.
Map Navigation
If your bike computer has map navigation feature, you need roadbook, map and GPS positioning for normal use. Roadbook and map downloading file usually can be obtained from the bike computer app or website.
After GPS positioning is completed, the device can locate the user's current position, and then navigate through the roadbook, map, and current position.
Ending the Ride
Once you finish your riding and would like to stop recording, just press the stop button at the end of your rid to stop recording data. Save the ride data, which can usually be reviewed later on the device or synced with a smartphone app or online platform. If your computer is connected to a smartphone, sync the ride data for detailed analysis or to share it with others.
Upload and Post-Ride
Use the bike computer or a connected app to review your ride stats, including distance, average speed, elevation gain, and more. Charge the Device: If the battery is low, recharge your bike computer before your next ride.
By following these steps, you can effectively use a bike computer to enhance your cycling experience, track your progress, and explore new routes with confidence.